 View down the holes I cut View down the holes I cut
|
 Bottom of the cabin sole showing dry rot Bottom of the cabin sole showing dry rot
|
| View down the holes I cut
|
Bottom of the cabin sole showing dry rot
|
Haha, well there wasn't sawdust there before I made my cuts. The hull was covered with crude because she had been in the water so long.
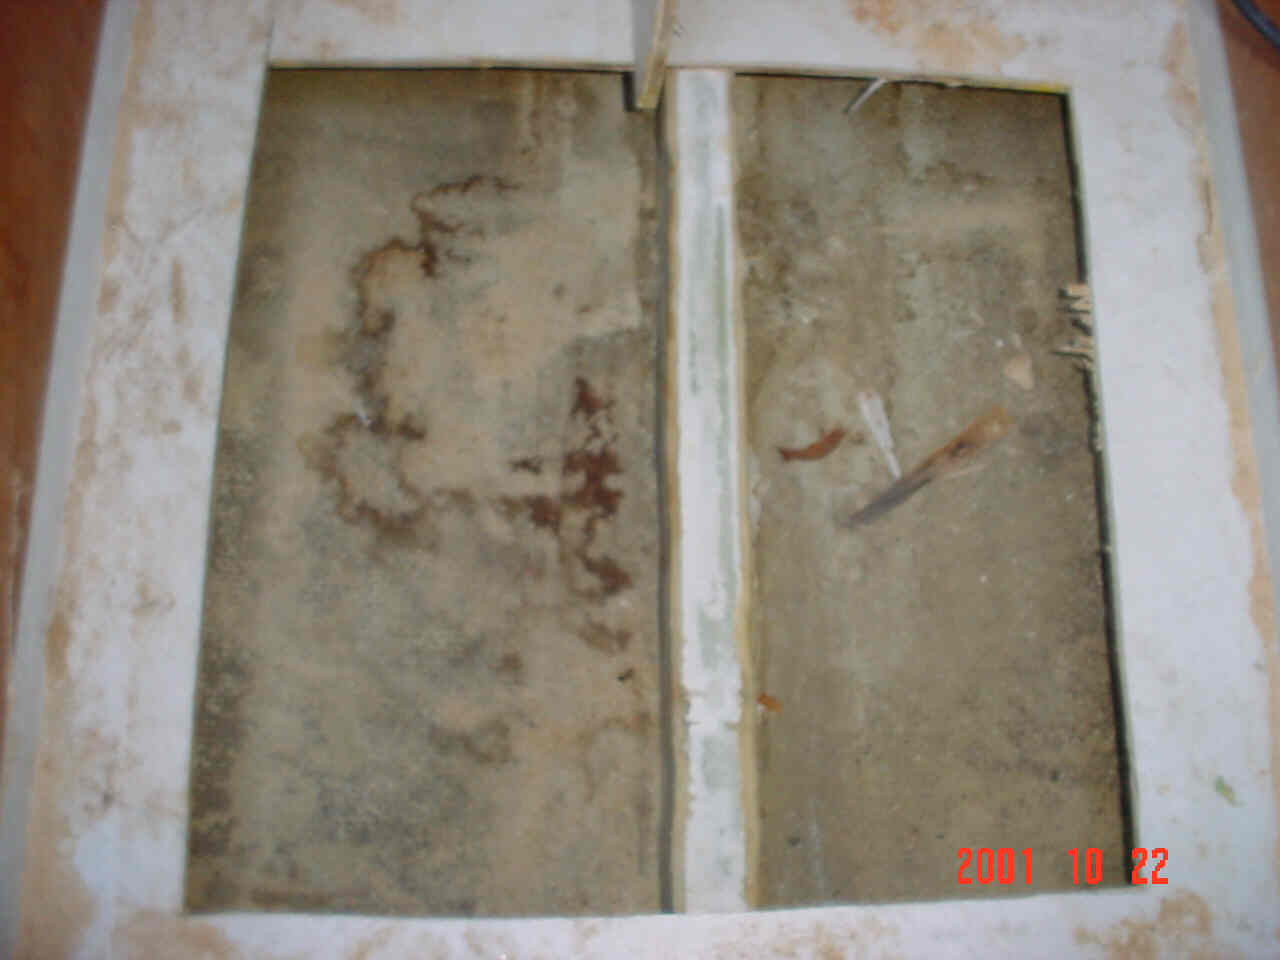
The centerboard trunk runs down the middle. It is flat on the top and bonded to the cabin sole with hard-drying bedding compound. The sole is 1/2" plywood. I set my skill saw to 5/16" deep and didn't even score the centerboard trunk. I used a little more depth when in other
places.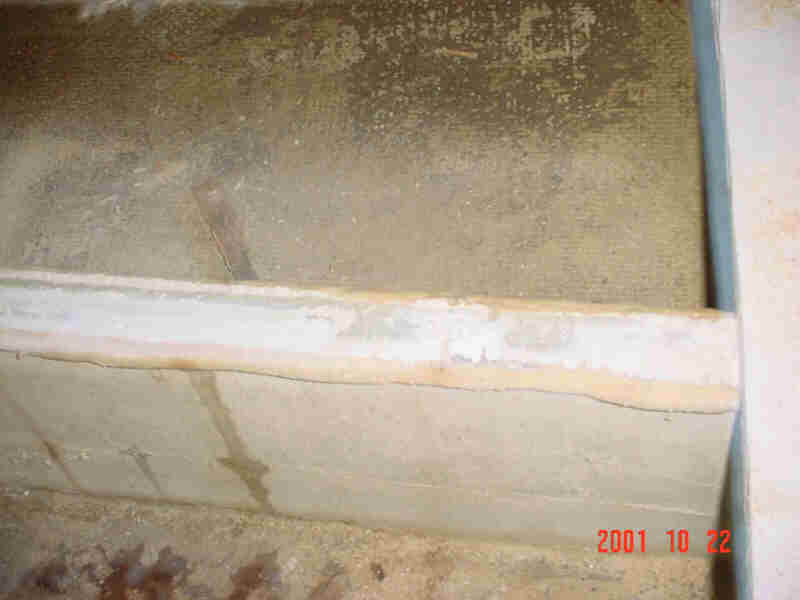
Centerboard trunk showing flat top with bedding compound
All picutres below are shown in minuture. Click on the picture to get a big image you can study in detail!
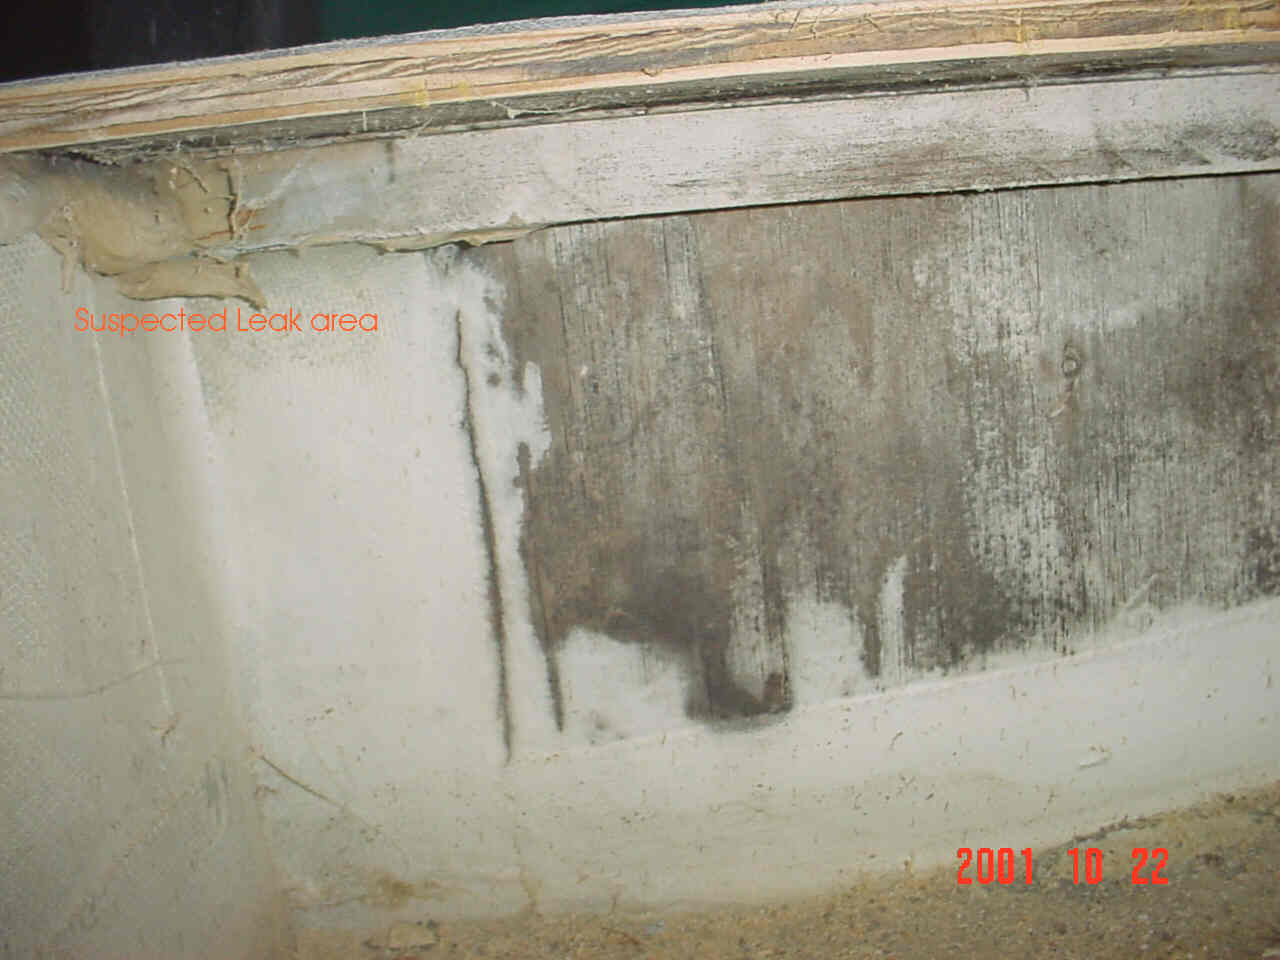
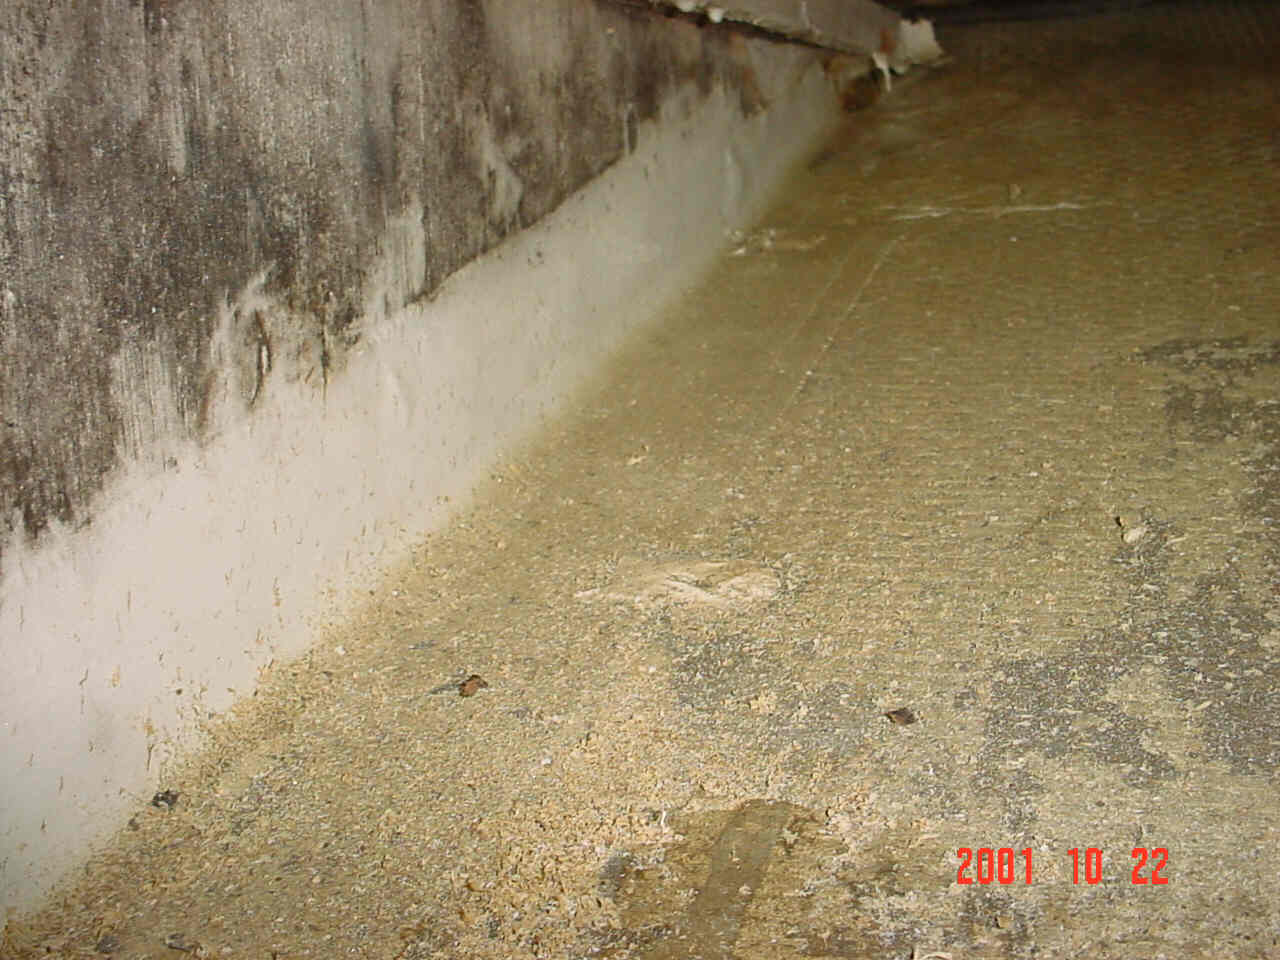
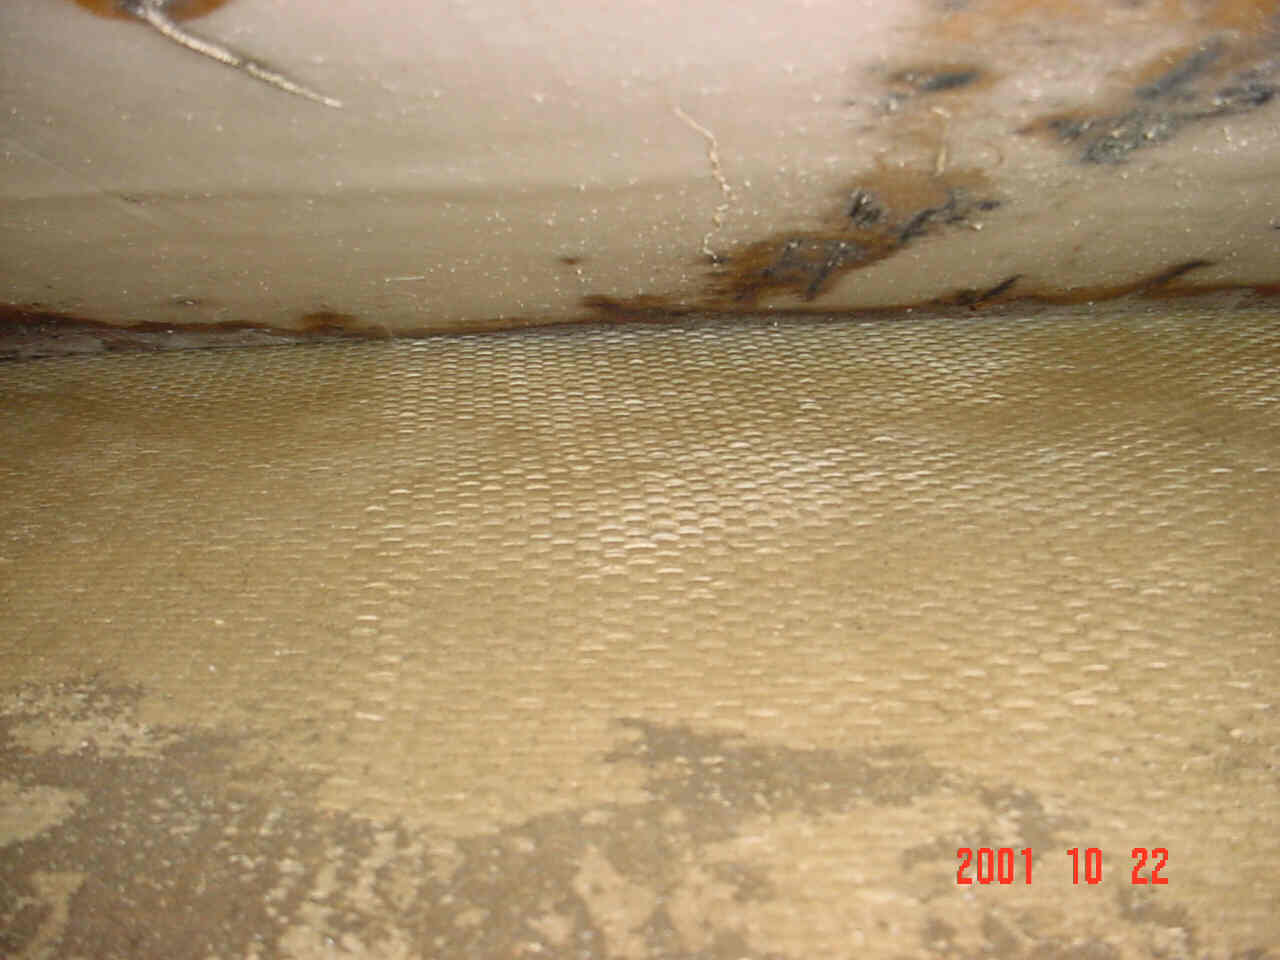
This is where I think my problems started. Note how cobbly the end of the bulkhead is in the upper left hand corner. It appears to be just globbed on bedding compound. Note also the dry rot on the plywood bulkhead... 100% coverage, but not very deep yet..
This bulkhead is 5" in front of the step.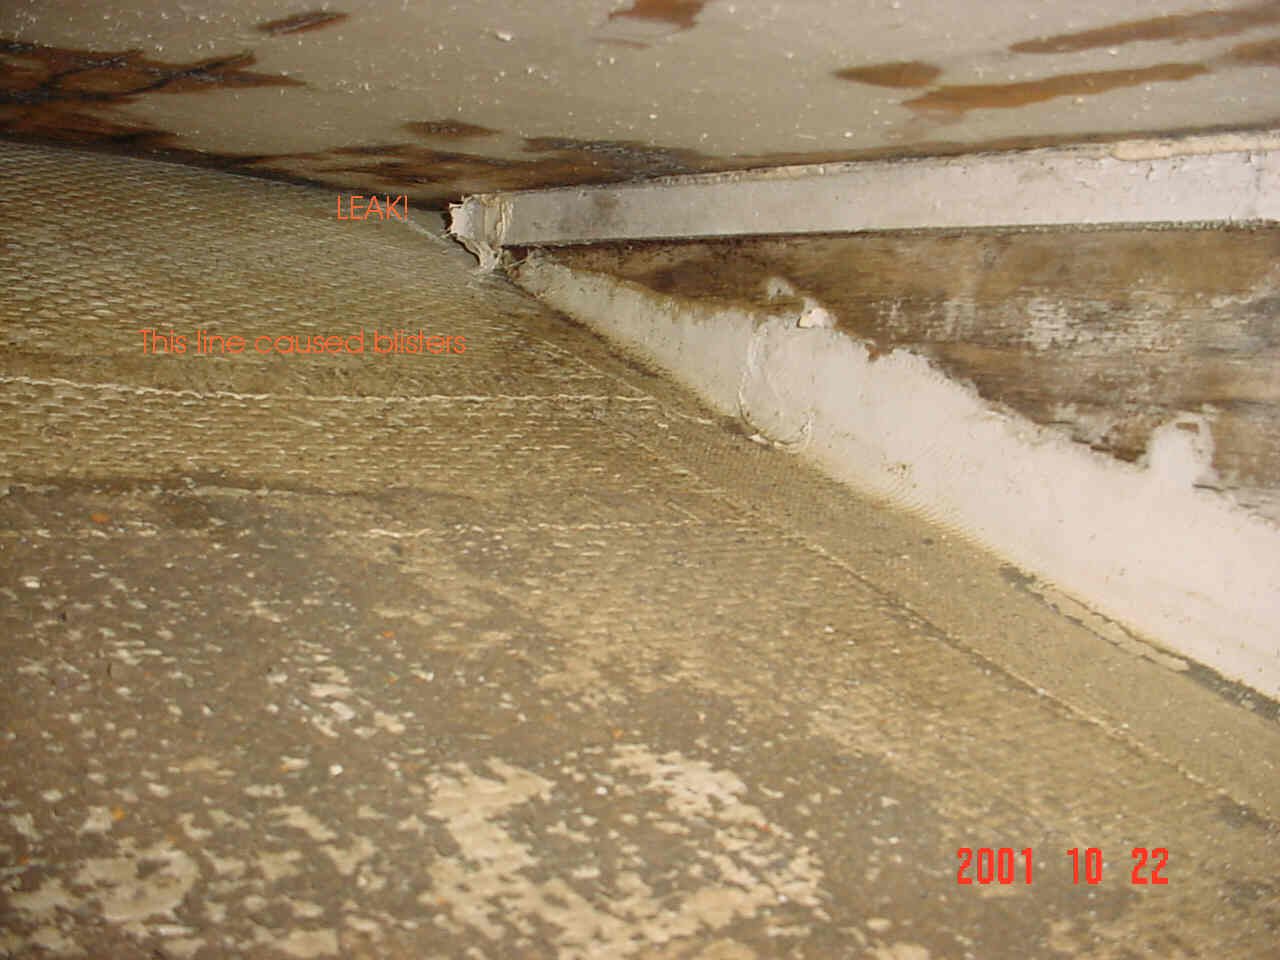
Note bedding compound at top of bulkhead
 Detail at centerboard trunk |
 Detail at port chine |
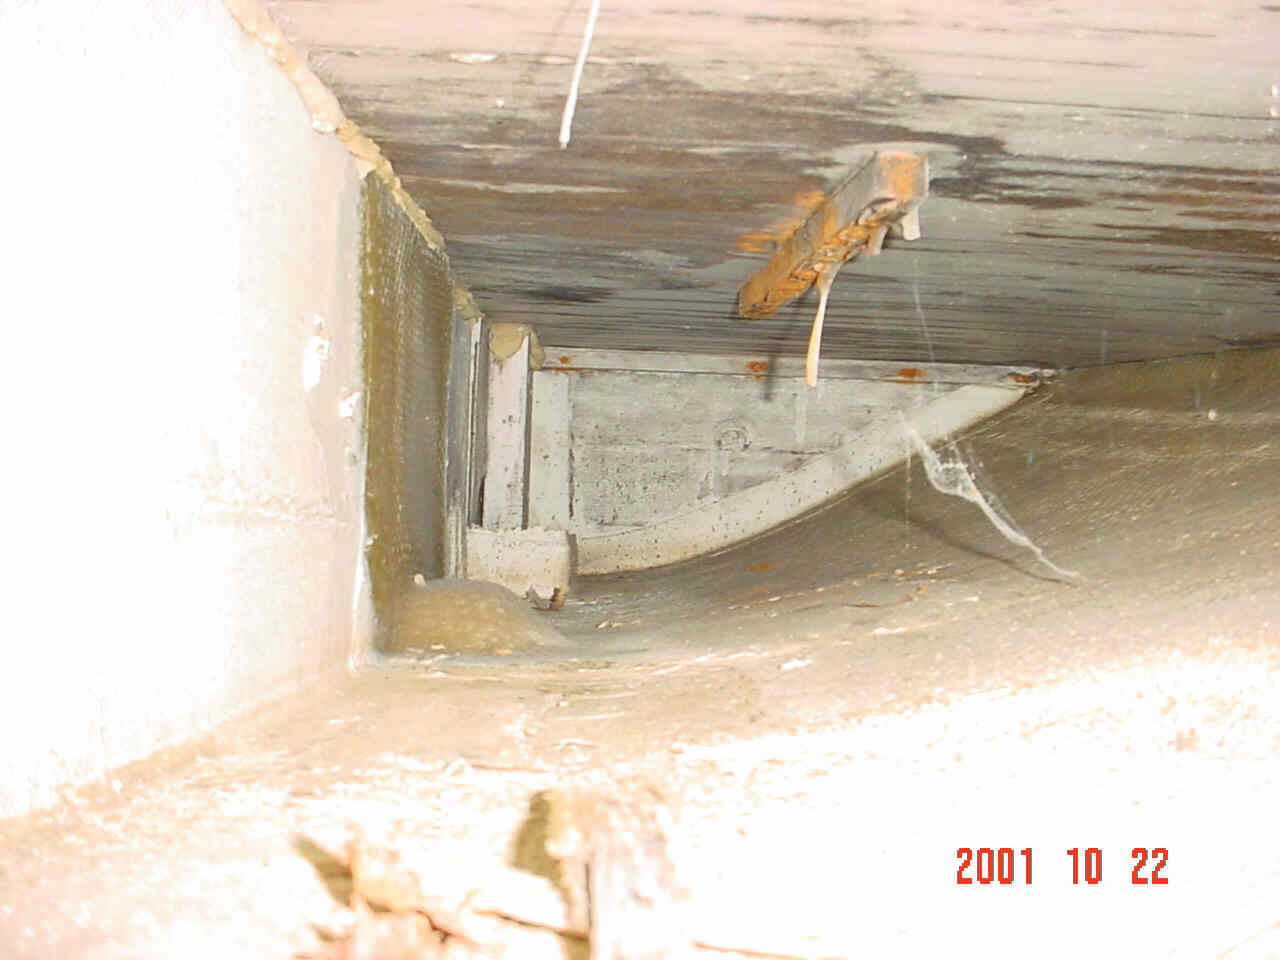
Don't know what those braces are that obviously have rusted screws in them. They are above the pivot point of the centerboard at about the place where
the forward cabin bulkhead runs across the cabin.
 Forward port |
 Forward Starboard |
I had a line of blisters running down both sides of the hull. In pretty much a straight line from about 3-4 feet from the stern to nearly the bow. I surmised water penetrated the hull at the bow from the damage caused by hitting that stupid trailer cross brace and knocking off the gelcoat. However, the blisters in a line were baffling. I called the factory to ask them if perhaps there was a fiberglass ply that was in that approximate location that could be causing blisters from the inside. Their response was, "no, we've never heard of that problem, don't have any idea what could cause it." Indeed, there is a fiberglass ply exactly where I predicted it would. I will put a barrier coating on the fiberglass hull in the ballast area to prevent blister causing water from coming from inside the hull. Thankfully, it appears blisters on Santana's don't come from inadequate hull and exterior
finishes.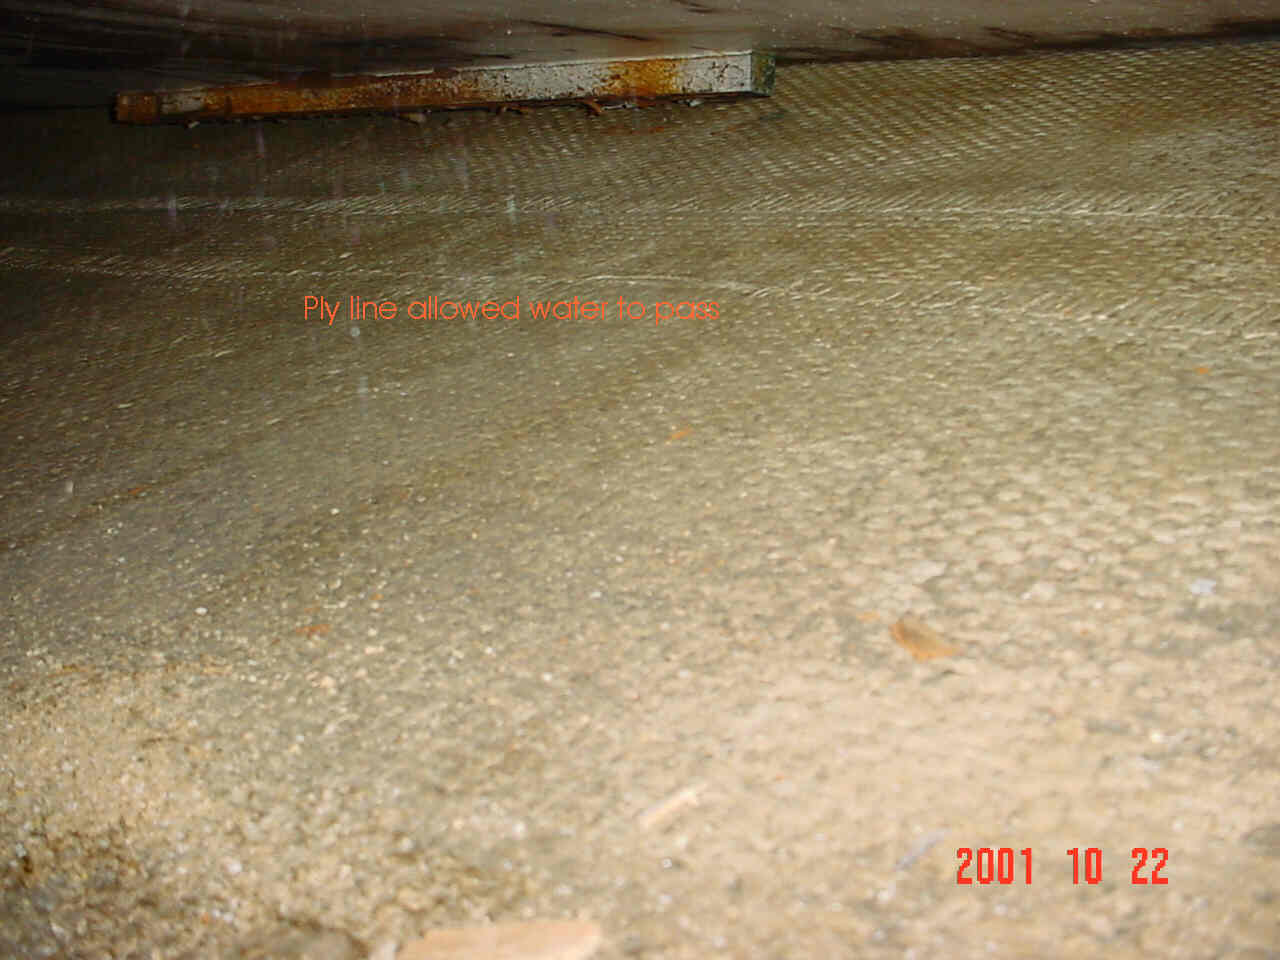
Here is the area that will really cause problems, if one does not have adequate access to work. The chines meet the cabin sole in a sharp angle with very
little working area. I will try different types of paint brushes to get the epoxy up in those tight corners to see which type works best.
Oh no. Water was in my aft air flotation chamber so long it caused dry rot in the plywood back there, too. I don't think I'll do that area right now. I will
see how well I do on the ballast tank area first. All that sagging bedding compound will have to be removed in order for the epoxy to attach to the actual
bulkhead stingers.
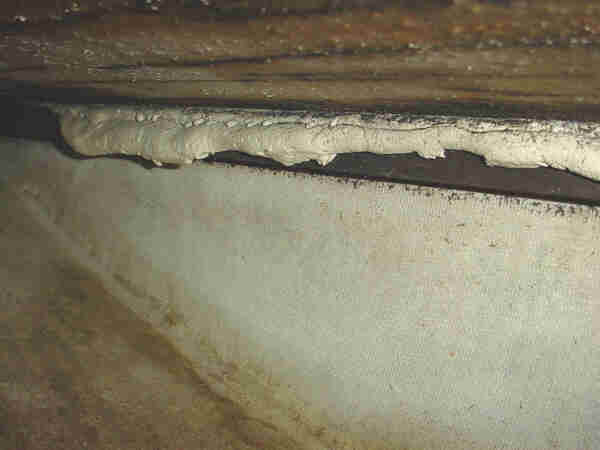 Aft air flotation chamber |
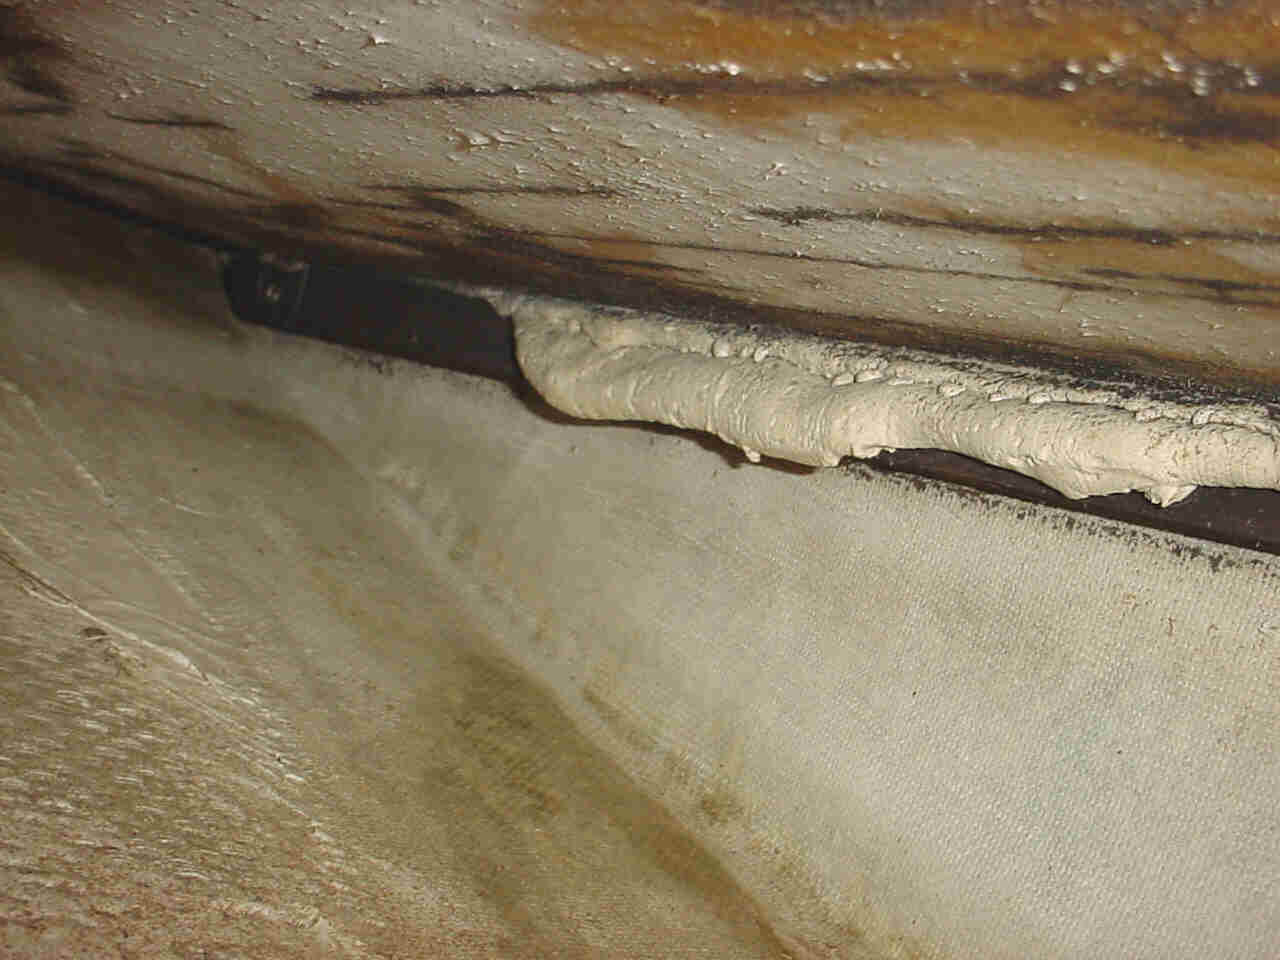 Aft air flotation chamber |
Here is my plan, with concurrence from West Systems.
I'm glad it's getting cool. One will definitely need arm protection for this job.