TaxBusters Racing
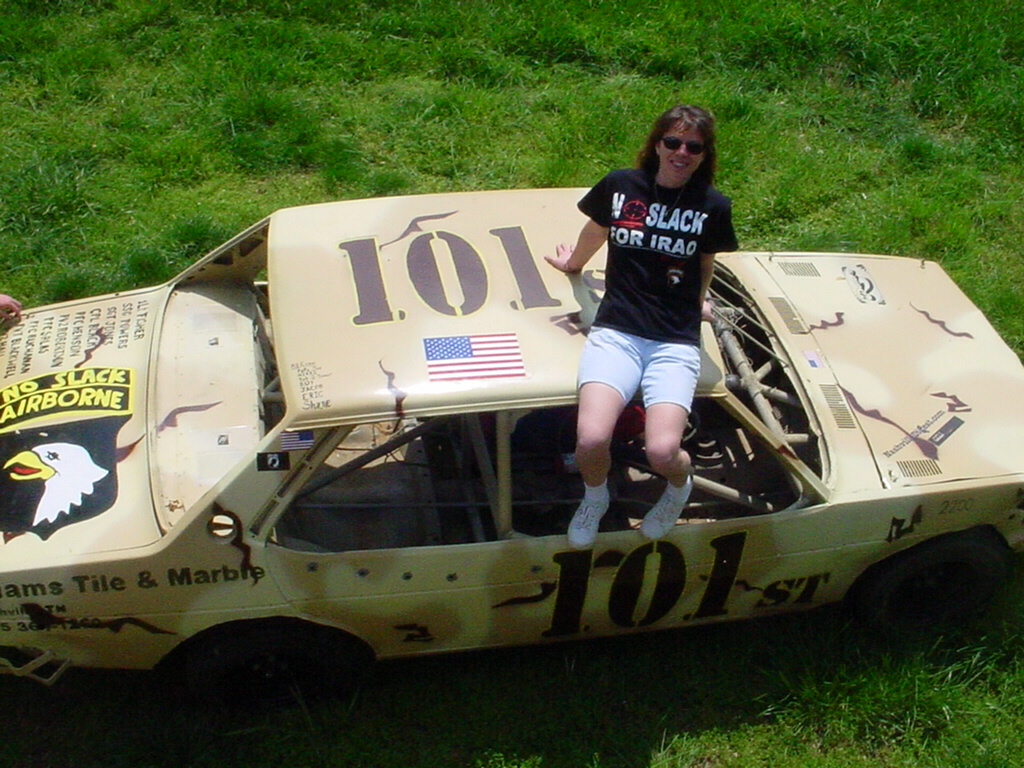
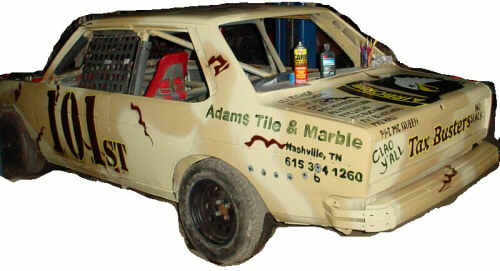
Fiat Brava dirt track car
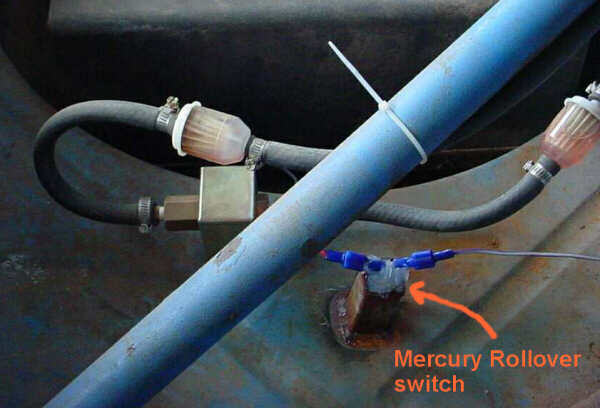
Electric fuel pump rollover switch - a mercury switch from a Honeywell
thermostat is encapsulated in the silicone seal. We tested it before
we put it in there to make sure we got it right side up. I'll let you
know how the other half of the switch works if I get upside down...
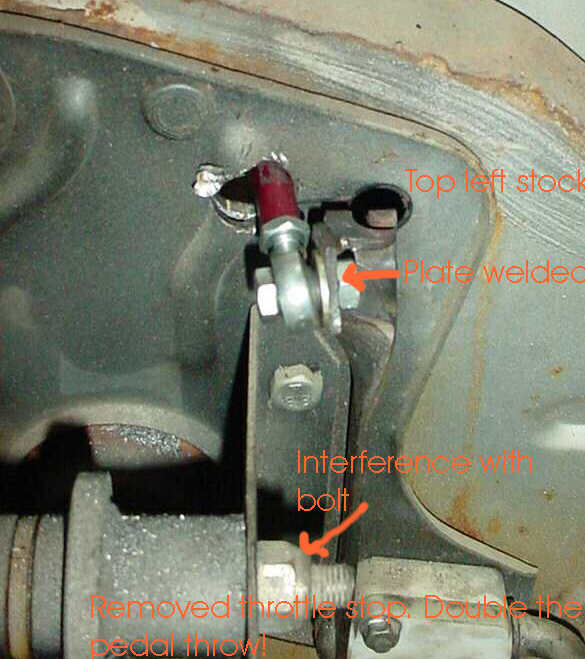
We left the top of the throttle stock so we could reattach the stock
cable and carb..
There is some interferance with the bolt holding the clutch and brake
pedals. Heavan knows we don't want it to stop us from getting the
carb WFO!
We had to completely remove the pedeal stop on the floor as the travel
is just about double the stock movement. This additional movement will
likely be helpful as precise throttle control while bouncing around on a
rough dirt track was a little hard with the Webber's short throw. I
had been considering welding a plate beside my throttle foot to help stabalize
the pedal action.
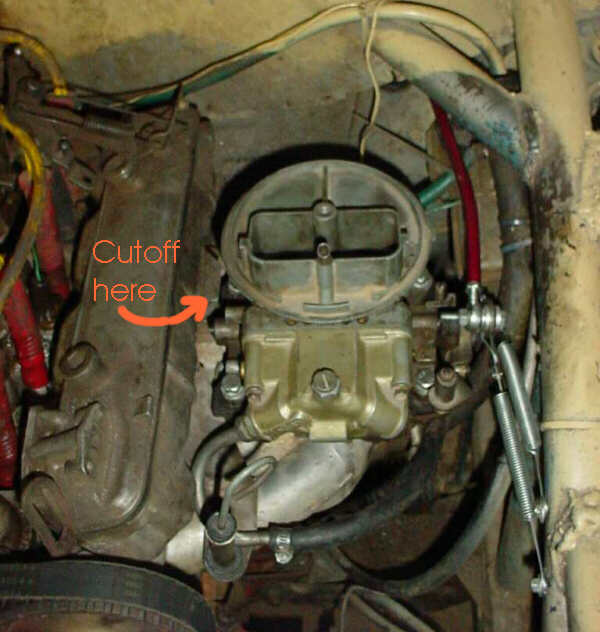
Front view showing the two return spings mounted to the roll bar. I
can't remember what that tab on the oil return passage used to be for, but
it's gone now!
It would have been nice if the carb inlet had been on the other side of
the float bowl. I am looking for a 90 degree fitting to replace the
tubing, as we crinked the tubing a little bending it on such a short radius.
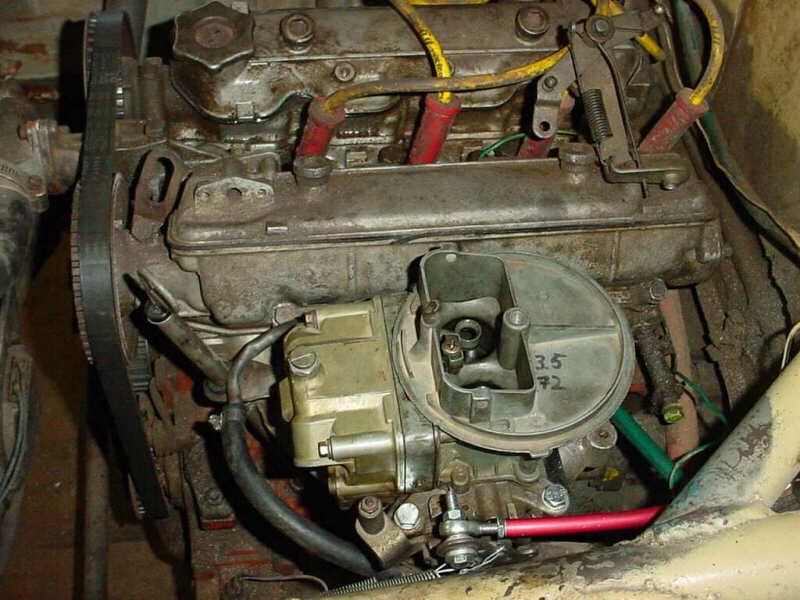 Haha, sorry the motor is so dirty! The cam covers leak and after
all, we do run in dirt. Little clumps of dirt fly everywhere!
This pix shows how tight a fit the carb is. We have a 9" air cleaner
for it and have enough room for one about 3" tall. I run a K&N
filter and am very satisfied with their ability to keep dirt out of my bearings!
We did a little carb tuning this afternoon and found the jets to be pretty
close to perfect. It might be just a little rich... about one half
of a Webber jet. I don't have the faintest idea how to jet a Holley, so I
have to rely on my tuner who wouldn't let me run it any leaner.
While we had the plugs out looking at them we checked the compression.
#1 - 150 and #4 - 155. That with the throttle closed and all
the other plugs in! It actually has better compression after 2,000
racing miles than when it was new! That's a statement for the need
of proper breakin of a racing motor!
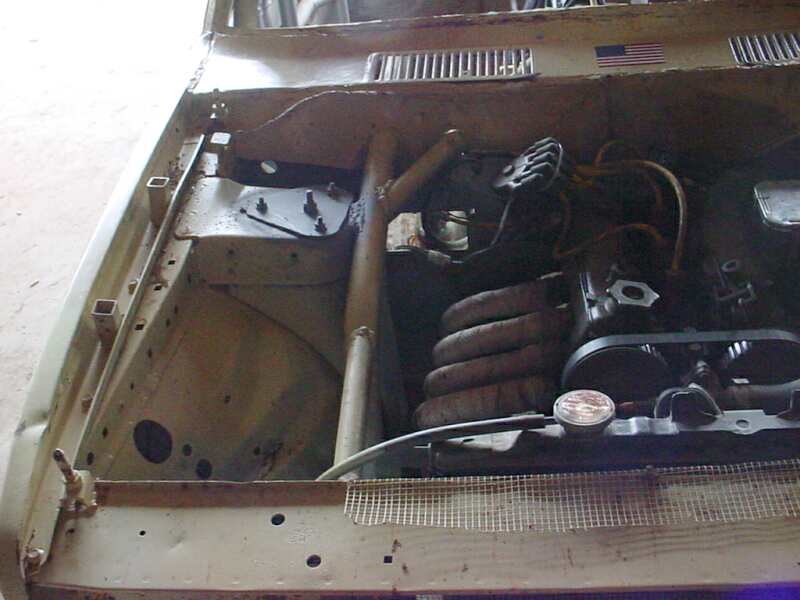
Here's the RF shock tower showing the plate we made to replace the rubber
fitting. It seems to help make steering more precise. The offcenter
strut nut is indiccative of how much negative camber we need.
We surfaced the custom exhaust header today as it was warped all the heck
from welding the pipes on.
We have a larger than stock radiator and haven't had to turn on the electric
fan yet. In fact, the temperature when up to speed is actually less
than I'd like, but we haven't changed the restrictor washer at the exit from
the head.
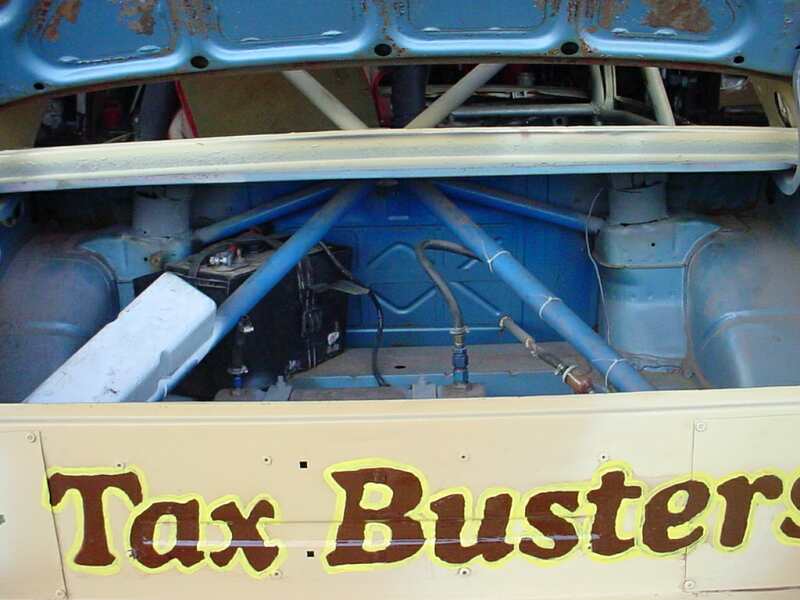
This shows how we tied the roll cage into the rear shock mounts and frame.
We did not try to tie it into the rear floor where the trailing links
mount.
The battery is in the wrong place and the ballast is mounted too high.
We'll change that sometime soon.
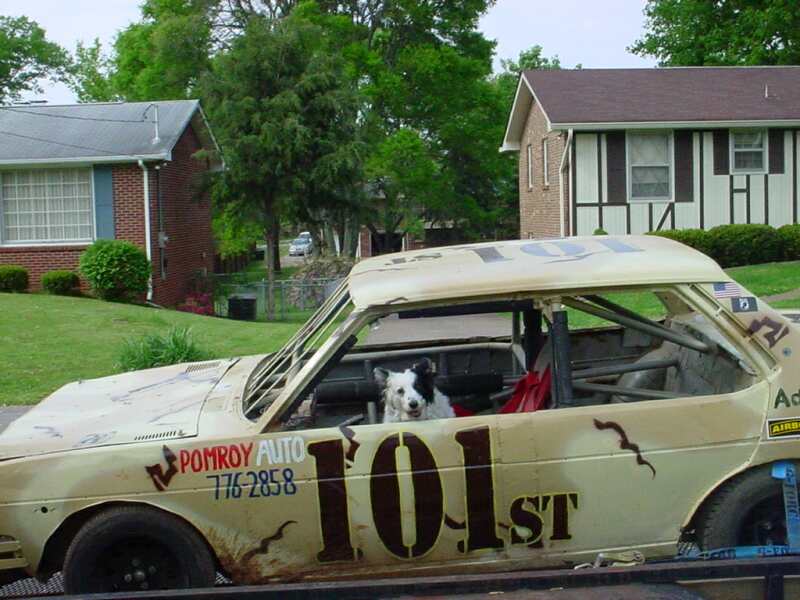 While this appears to be a typical picture of a Border Collie trying to
take control of the situation, I include it because it shows some more detail
of the roll cage.

ChasinRacin.com